


Timeline Rules: What Every Couple MUST Know
Congratulations!
You’ve accomplished steps 1, 2 and 3 of building your wedding foundation. As a recap those steps are…
Step #1 - Set your plan/vision for your wedding day!
Step #2 - Set your budget!
Step #3 - Build your village (AKA - start booking your vendors)!
NOW…
Step #4 - CREATE A TIMELINE.

Your wedding day village is assembled, now let’s start “telling them what to do” - ha! But seriously, all your vendors are waiting to hear from you on what the wedding day will look like. The place I like to start when building my timelines is with your ceremony. What time will your ceremony start? Depending on when the ceremony starts will depict the rest of the timeline.
Side note: If you’re doing a catholic ceremony, usually you don’t have much control over when your ceremony will take place. If you do have control, then my recommendation is finding out what time you need to be out of your reception venue. Your end time will help you decide when it’s appropriate for your ceremony and reception to begin. Also take into consideration, the time of year you’re getting married. Depending on the season, the sun sets at different times, which in turn might control when your ceremony starts. I know for me personally, my winter weddings start much earlier in the day than my summer weddings do because the sun goes down significantly earlier in the winter than in the summer.
Pro Tip: I usually recommend receptions to last around 4 - 4.5 hours. Trust me, you guys are going to be EXHAUSTED and after about 4 hours of your reception, you’re going to be tired and spent.

Once you decide on your ceremony start time, work with your photographer to put together your “pre-ceremony” photography timeline. You will also want to coordinate with hair and make-up to decide what time you will need to start hair and make-up.
Other factors that you will want to decide, which will influence your timeline, is whether or not you are doing a first look. I will discuss the pros and cons to a first look in another post, but for now, decide what is best for you and your fiance.
Side Note: I recommend you have all the pictures wrapped up 30 minutes prior to the ceremony start time. There’s always a few guests that show up early and if you’re “hiding” then this will help you avoid seeing guests before the start of the ceremony.
After the ceremony, you will then sign your marriage license, take any pictures remaining and get ready to start your reception.
After the reception starts and you’ve done your grand entrance, I recommend moving straight into dinner.
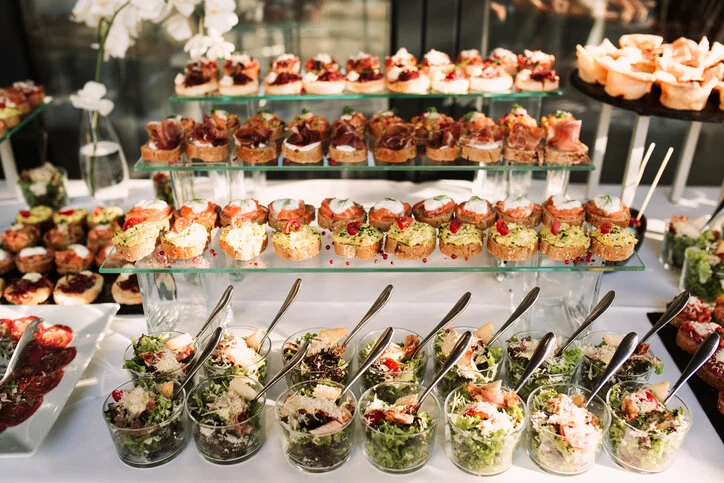
Side Note: There are a couple of factors that will determine how long dinner will last; guest count, plated or buffet and whether or not the buffet is single-sided or double-sided.
After dinner, work with your DJ to coordinate and fine-tune the agenda. I know some DJ’s are very particular about the order of which the reception will flow. Typically my reception timelines will go something like this…
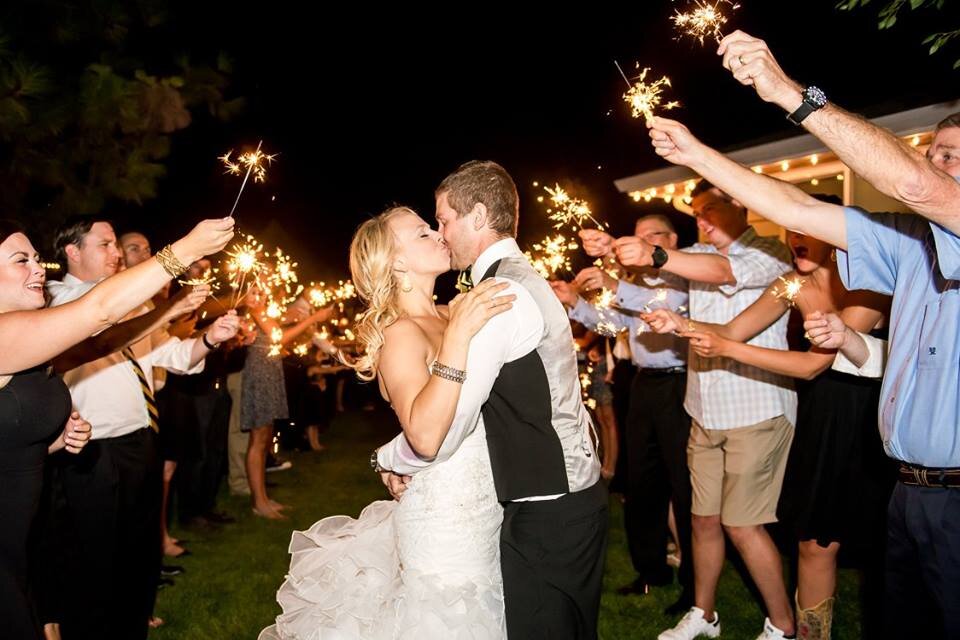
Toasts >> Cake >> Dances >> Open Dance Floor >> Garter/Bouquet toss >> Final Dance of The Night >> Exit
As a timeline recap, I usually structure my pre-ceremony timelines starting with…
Hair & Make-Up >> Getting Dressed >> First Look >> Wedding Party Pictures >> Family Pictures >> Hiding 30 minutes prior to Ceremony >> CEREMONY.
Then follow the recommendations of your DJ and the above tips.
Hopefully, this was helpful and you can apply these tips to your special day!

Just Got Engage? Now What!
You just got engaged, congratulations!
You’re going to embark on a memorable and exciting journey. Whether you know exactly what you want, or you're just starting the process, every bride begins in the exact same place.
With a plan! So what’s yours?
Go ahead… take a minute and write it down. Write down everything you want your wedding to look like; from the venue to catering, the atmosphere and ambience.
In fact, take it one step further, write down everything you don’t want.
What I’ve learned is sometimes writing down what you DON'T want, allows you to discover exactly what you DO want. Write down what your non-negotiables are and make your fiancé do the same. It’s important to feel like both voices are being heard throughout the planning process.
Now let's move onto the next step. This is the single most important part of the planning process. Take your vision and your priorities and put it into a budget.
I know, I know, I just said the “B” word. BUT, it’s the most pivotal part of the entire planning process. It will be your guiding light, your sounding board, your voice of reason, sometimes your worst enemy and sometimes your saving grace. The budget needs to be thought through carefully. Think about what’s important to you and where you want to see your money go.
Pro Tip: If you don’t direct your money, your money will direct you.
So let’s start telling your money who’s boss. I’ve provided you with an easy budgeting tool that will help guide you through the budgeting process. While this is just an example, use it as a starting point.
As a wedding planner, there’s nothing worse than seeing couples go into debt in order to have the wedding of their dreams. Be realistic with your vision and your budget.
This is the first step to the rest of your life - Cheers ya’ll!
With Love,
Nikki Gradoville!

Increase Your Productivity... Ditch the Pen & Paper
If you’re still using pen & paper for taking notes and staying organized, then stop what you’re doing, put the pen down and step away slowly.
I’m going to share with you a few of my life changing tips, tricks and tools to help you save time, become more efficient and keep you more organized than you’ve ever been before. What’s even better. Every tool I share with you is FREE. That’s right, no memberships or packages. FREE!
Before I dive into the good stuff… let me tell you a quick story.
My passion for paperless planning started 2 years ago when I was meeting with a client to discuss all the details for her upcoming wedding.
For every meeting, I used my 3 ring binder, categorized in alphabetical order and colored coded by vendors. If “Monica Geller” could have seen me, OH BOY, she would have been proud. I was unstoppable.
I flipped to my clients file, pulled out a piece of paper and started taking notes. By the time we were done, the piece of paper was glowing with highlighters, arrows and scribbles. It was nothing short of looking like a buried treasure map. I walked away from my meeting feeling confident and equipped to execute a flawless wedding. Little did I know, I would leave that binder in the restroom never to be seen again.
In the blink of an eye I went from feeling invincible to completely lost. All my notes. All my contracts. Everything was gone.
That was a hard lesson. I was embarrassed and humbled. As I picked up the phone to call ALL my clients and tell them what had happened, I remember thinking, there had to be a better way to plan weddings.
We are living in an era where we expect information to be at our finger tips. So why was I still relying on the irresponsible pen and paper to help me stay organized?
So I set out on a mission to become a student of technology and to learn how to become a smarter, more efficient wedding planner.
Angela Proffitt (angelaproffitt.com/), is a paperless wedding planner out of Nashville, TN. She’s a true boss babe leading the charge on planning events digitally. I became her student and little did she know, she became my mentor. She introduced me to a handful of apps and websites that have literally CHANGED my life.
The apps and websites below are things I use every single day. What’s even better… they are ALL free to use!
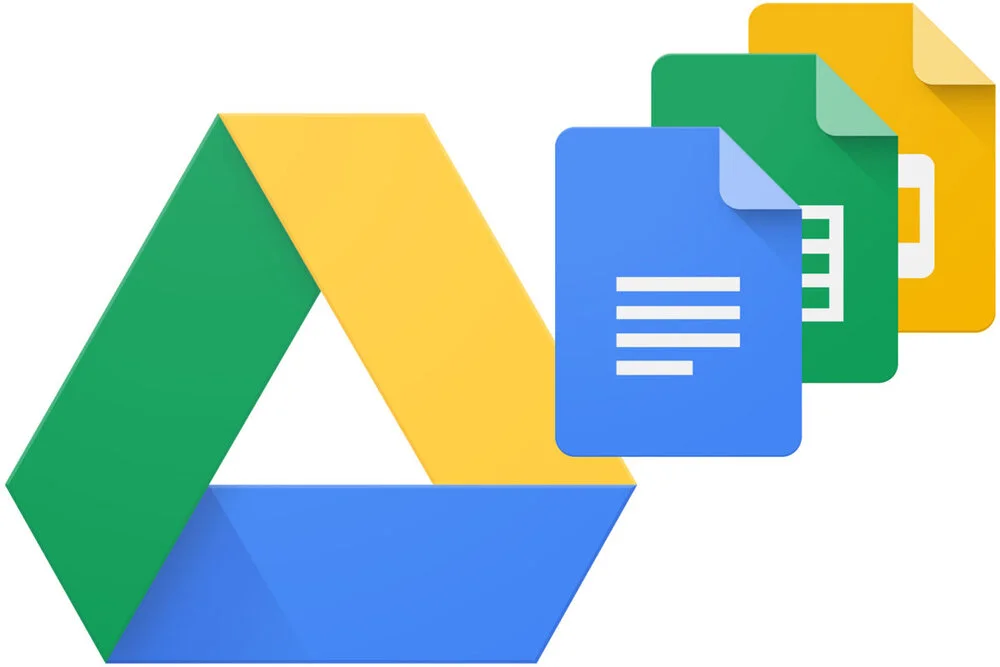
GOOGLE DOCS - I know, I know. It seems pretty simple, huh? But, I’ve traveled the country meeting with some of the top industry pros in event planning and while there are some great tools out there, a consistent theme I see, they all use Google Docs. It’s free. It’s simple and it’s one of the best tools to keep ALL your clients files, contracts, pictures, videos, etc., organized.
EVERNOTE - I keep Evernote on my laptop, phone and iPad. All my devices communicate so it doesn’t matter if I’m driving in my car, doing a site-visit or laying in bed with thoughts racing through my head. I can reach for any device and access Evernote, make changes or refresh my memory and it’s all there at the touch of my fingers.

TINY SCANNER - This app turns my phone into a portable mobile scanner. I can take pictures of contracts or hand written notes, upload pictures as a PDF, then save it to wherever I need it to be save - Google Drive, Evernote, images, etc.
ALLSEATED - This website is a collaboration network that enables you to design floor plans, manage guest lists, and create seating charts. This is a life saver when working with new spaces and designing layouts. It also allows your client and vendors to do a virtual walk through of the venue space and ensure everyone is on the same page.

CANVA - This is a web-based drag and drop method for creating beautiful flyers, invitations, save-the-dates, posters, signs, you name it. They also have an app, just in case you don’t have your laptop. However, I don’t recommend using it to create content.
These tools have not only saved me money, but SO. MUCH. TIME. I no longer search for notes and flip through countless papers to find what I’m looking for. All my client files, all my vendor contracts and every floor plan I create is accessible NO matter where I am.
Going paperless isn’t an easy transition, but trust me… It’s worth it.
If you have any questions or want more advice, please contact me. I’d love to help you along this paperless journey!